This is a guide to show you how to set up a BEAST 2.7.x packages in Eclipse.
Azul JDK 17
BEAST 2.7.x is based on Java 17 (LTS) and GUI is developed from JavaFX. The following link (filters are applied) to lead you to download Azul Zulu builds of OpenJDK with JavaFX:
https://www.azul.com/downloads/?version=java-17-lts&package=jdk-fx
Scroll the page to the bottom to select the correct one according to your operating system and CPU.
Elipse
Download/upgrade to the last version of Eclipse for your OS:
https://www.eclipse.org/downloads/
Get java code
We need the BEAST.base and BEAST.app packages, which are available from https://github.com/CompEvol/beast2 and https://github.com/CompEvol/BeastFX respectively.
Easiest to clone them with git in the ``~/workspace` directory, which is the default workspace directory for Eclipse, like so:
git clone https://github.com/CompEvol/beast2.git
git clone https://github.com/CompEvol/BeastFX.git
Create beast2 project
Use menu File => New => Java Project. A dialog pops up where you type beast2 in the Project Name.
Uncheck create module-info.java file box.
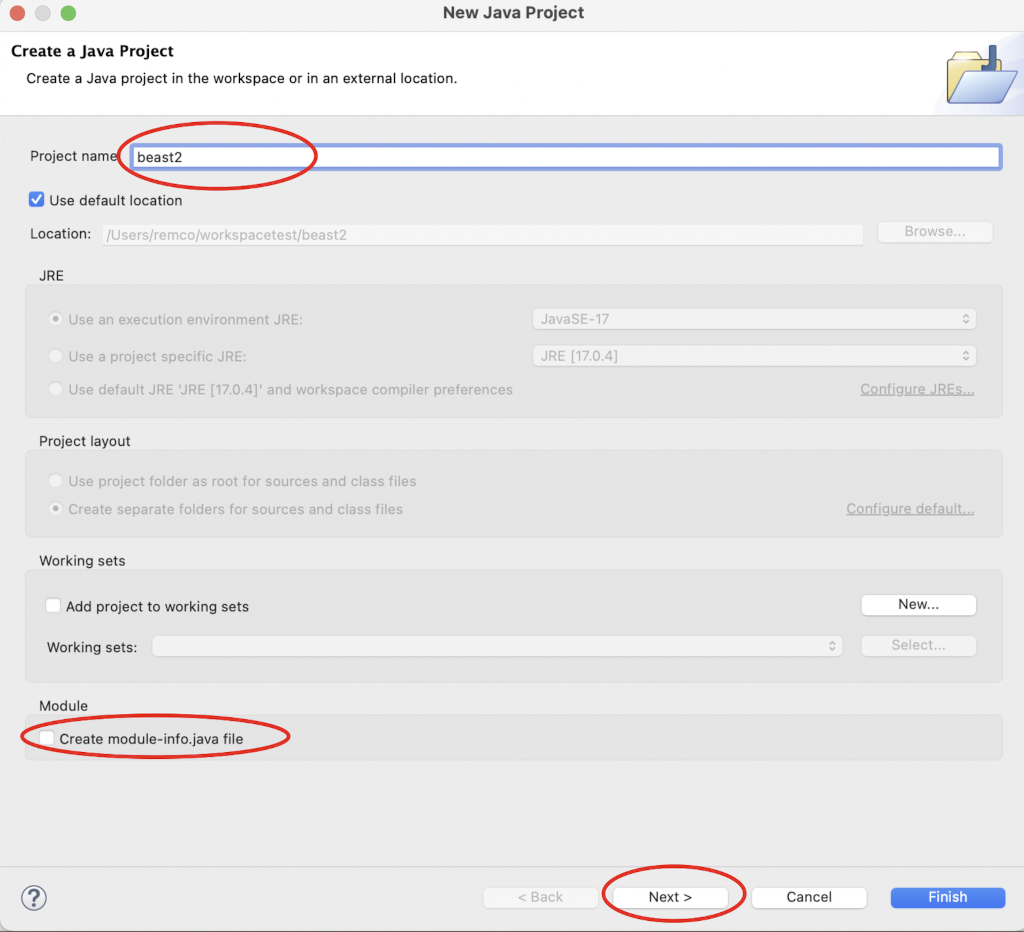
Click the Next button. A dialog with tabs appear.
Go to the libraries tab, and select Densitree.jar and jsign-3.1.jar to remove:
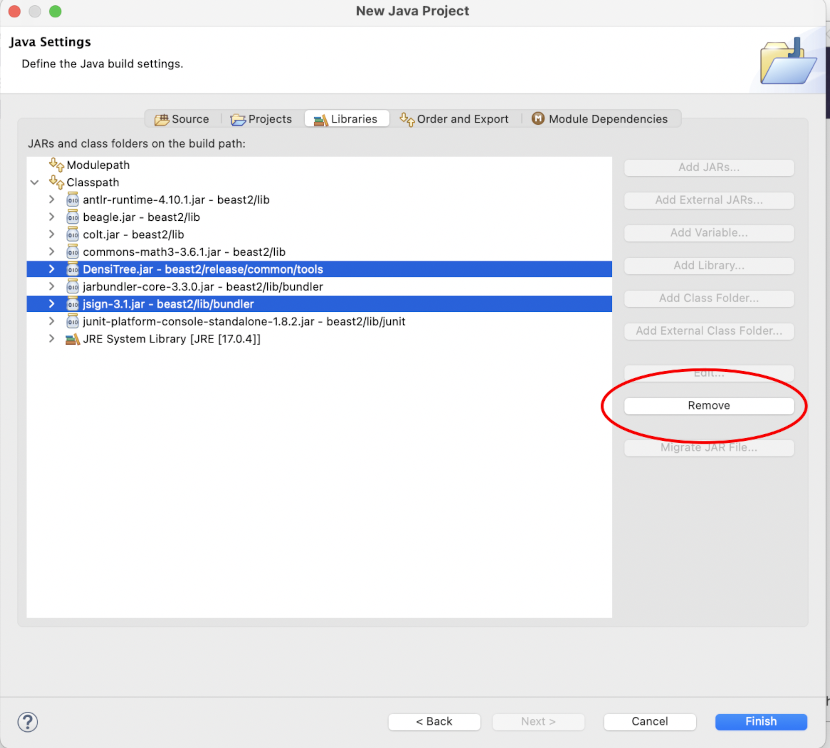
We need to set up the Azul JDK.
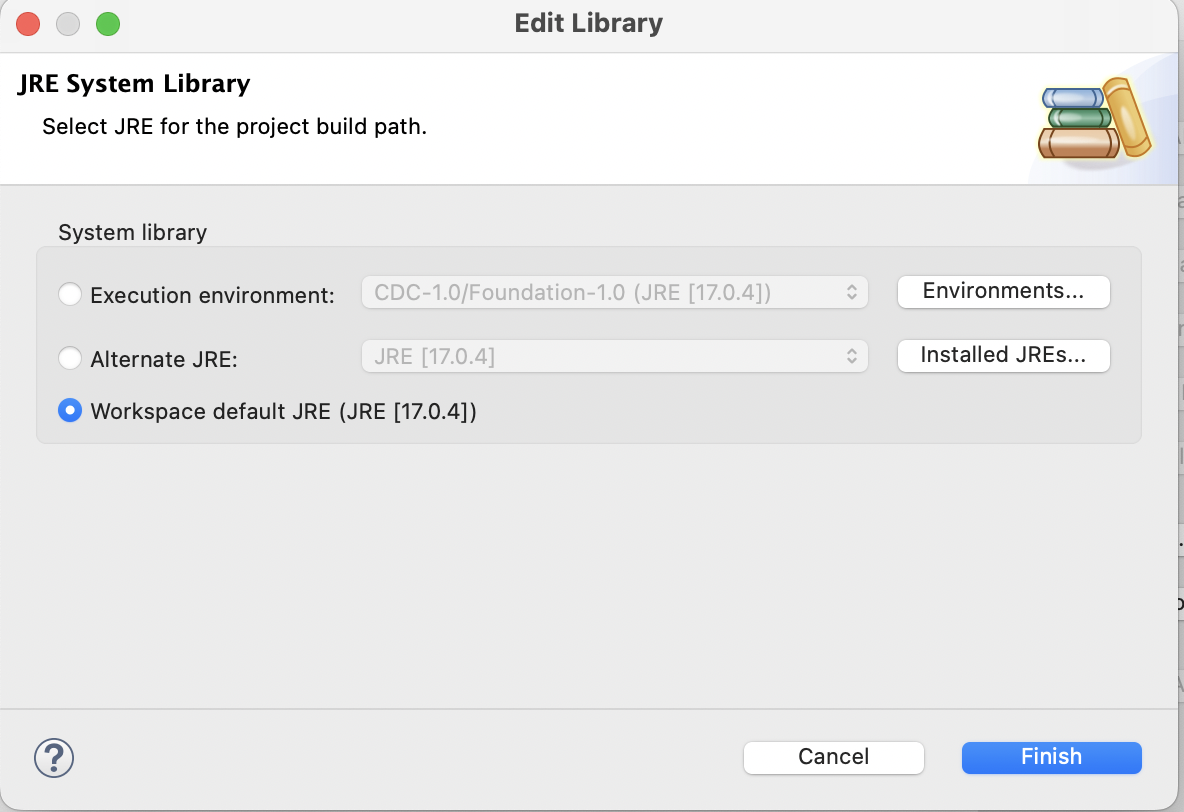
From the remaining items, select the JRE System Library from the list, and click the Edit button:

An Edit library dialog pops up. Click the Installed JREs button.
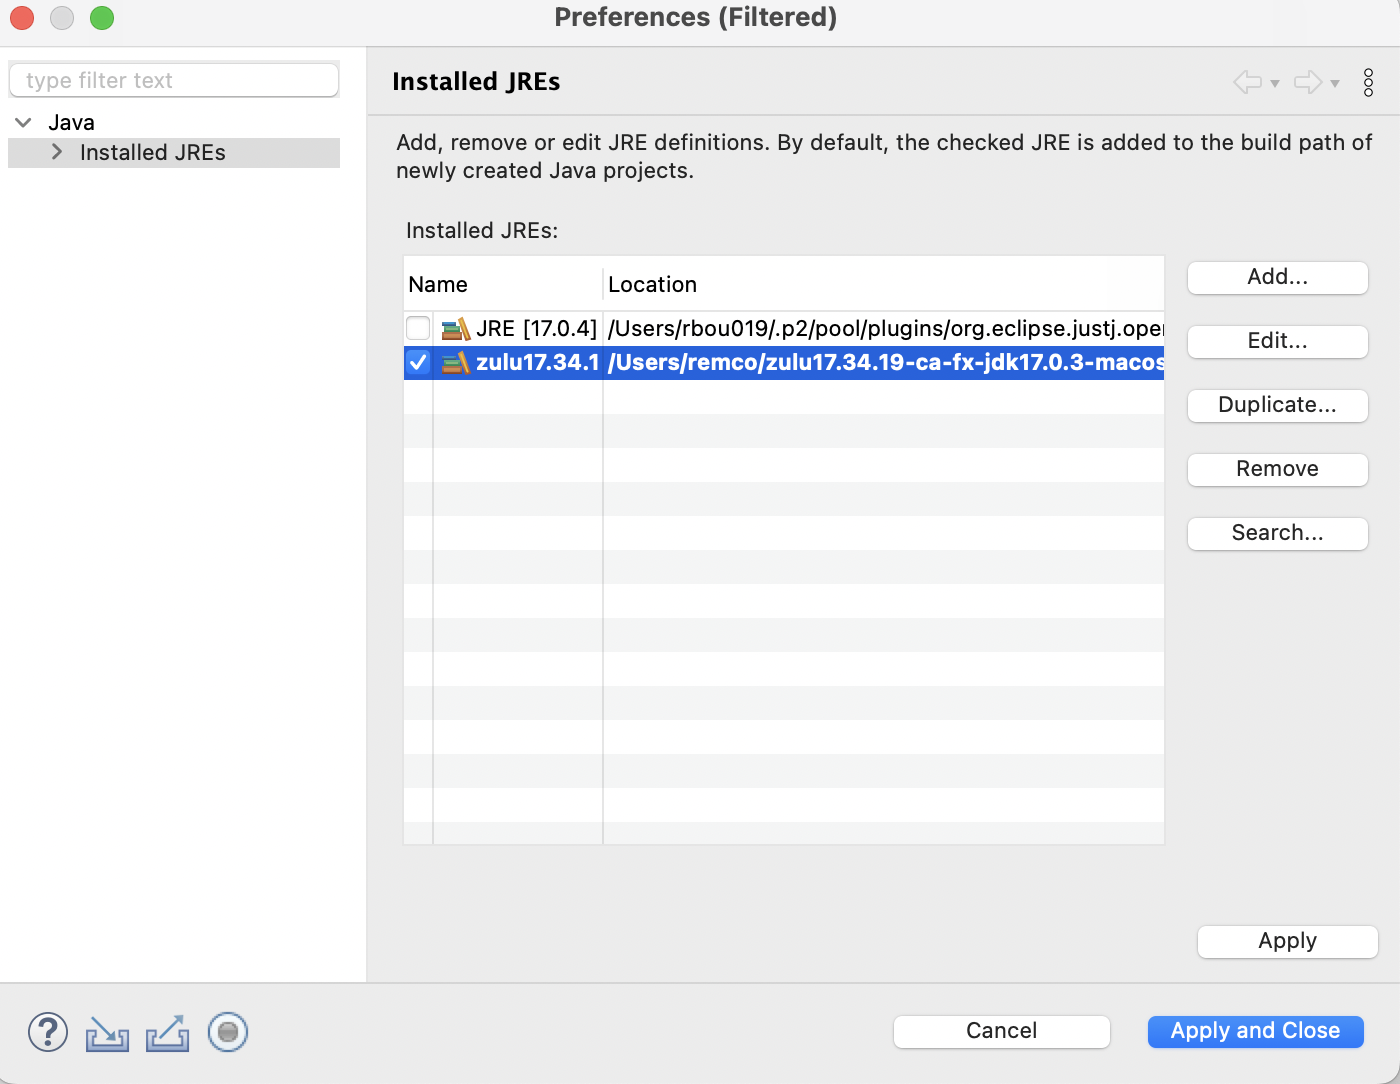
A Preferences (filtered) dialog pops up. Click the Add button.
A Add JRE dialog pops up. Click the Next button.
The dialog changes, and click the Directory... button to navigate to the place where you have unzipped the Zulu JDK.
Click Open and the dialog gets populated somewhat like so:
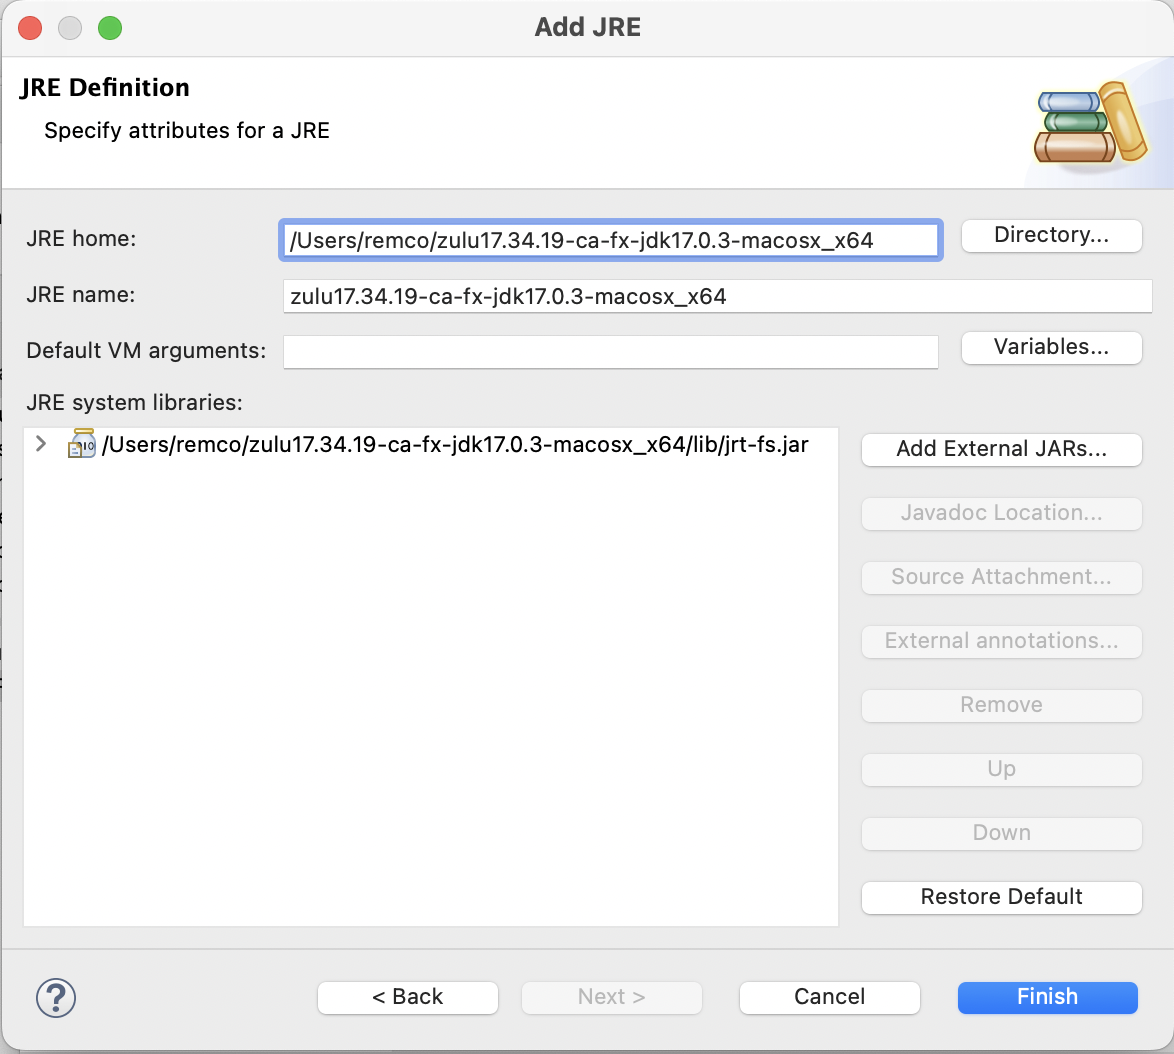
Click the Finish button. Select zulu17... as default, then click Apply and close button.
The workspace default should now have been changed to something like zulu-17.... Click the Finish button.
Click the Finish button and Eclipse will start compiling. Click the Hide button to show the workspace.
The beast2 project is now set up.
Create BeastFX project
Use menu File => New => Java Project. A dialog pops up where you type BeastFX in the Project Name.
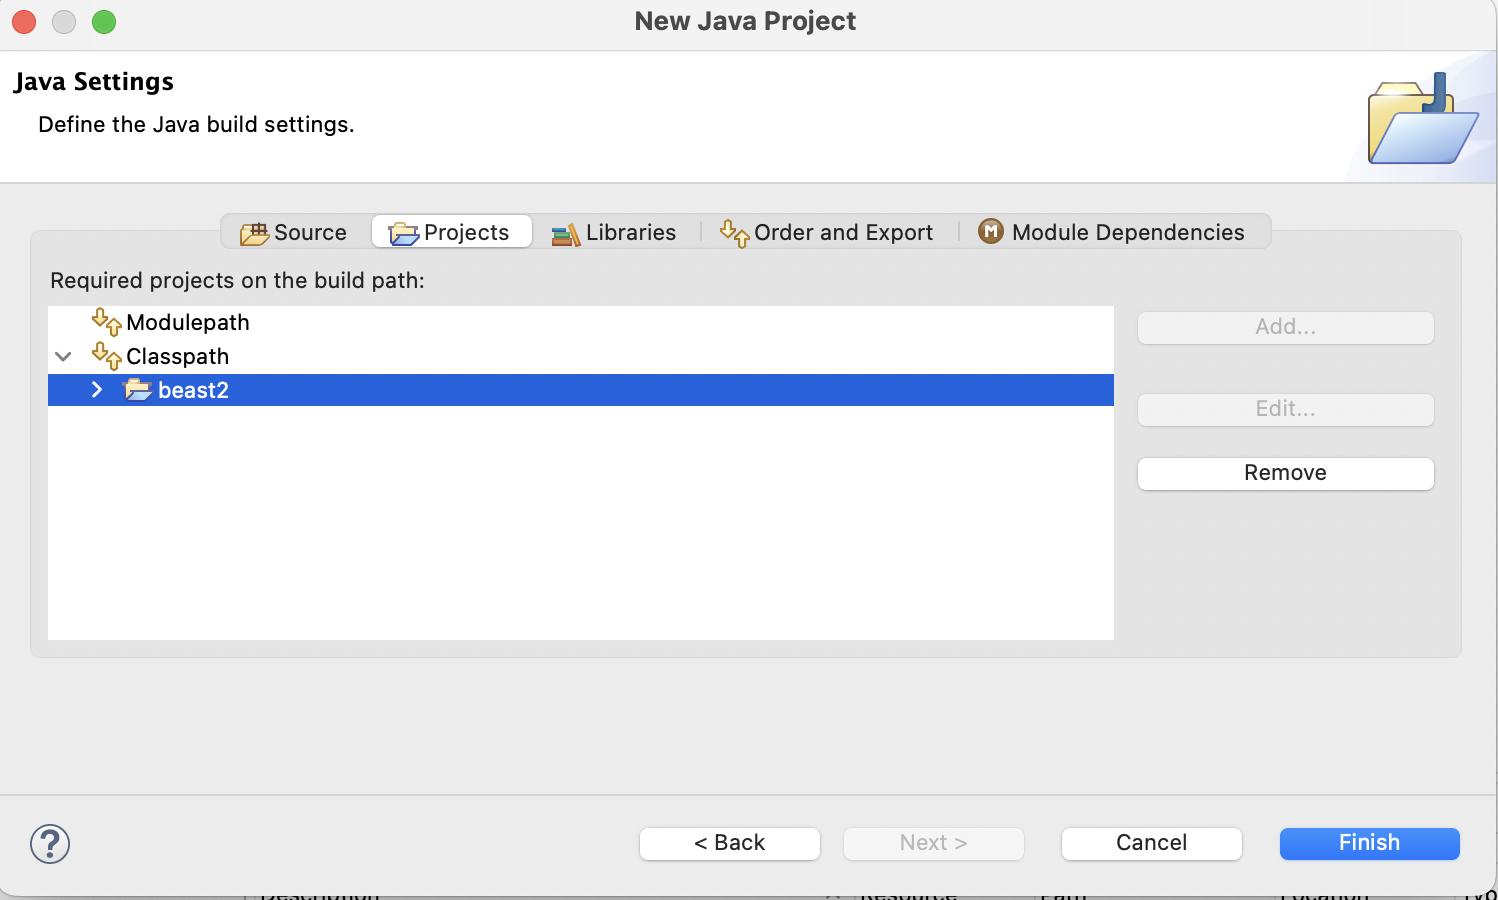
Select the Next button. Go to the Projects tab. Select Classpath then click the Add button.
Select beast2 from the list, and click OK.
Select the Classpath, then click the Add Jars... button.
Under the beast2/lib folder, select antlr-runtime, beagle, colt, and commons-math and under junit select junit-platform....
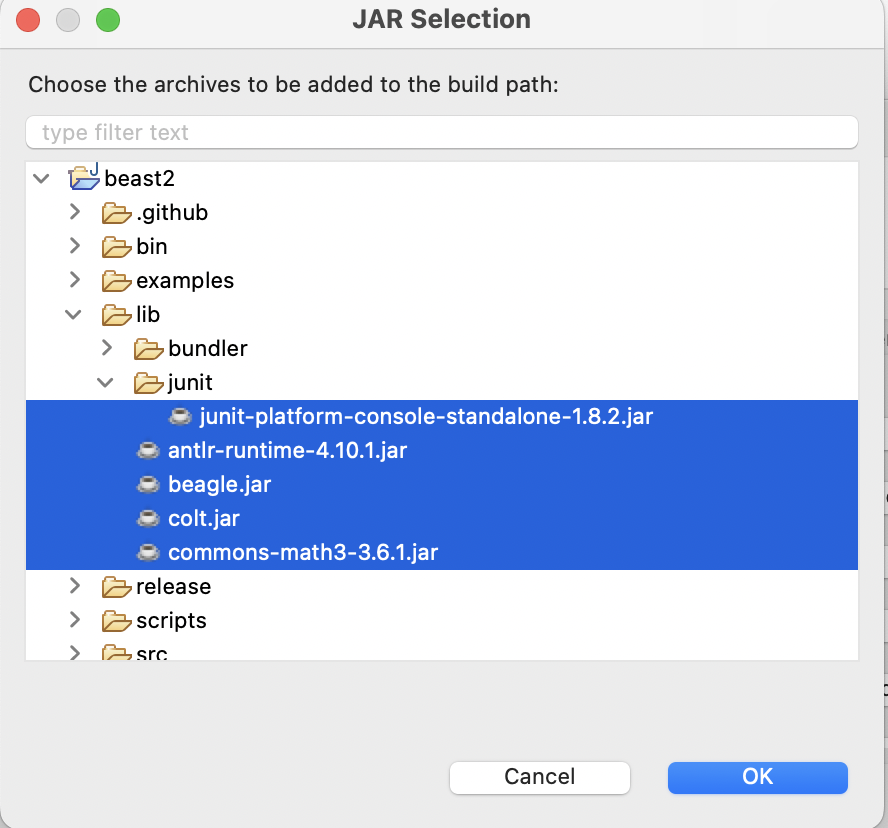
Click the OK button, and the New Java Project dialog should appear like so:

Click the Finish button, and Eclipse will compile the BeastFX project.
Running BEAUti in Eclipse
Open class beastfx.app.beauti.Beauti, for example from the BeastFX/src folder (or by search for the Beauti class).
Select menu Run/Debug as/Java Application to start BEAUti.
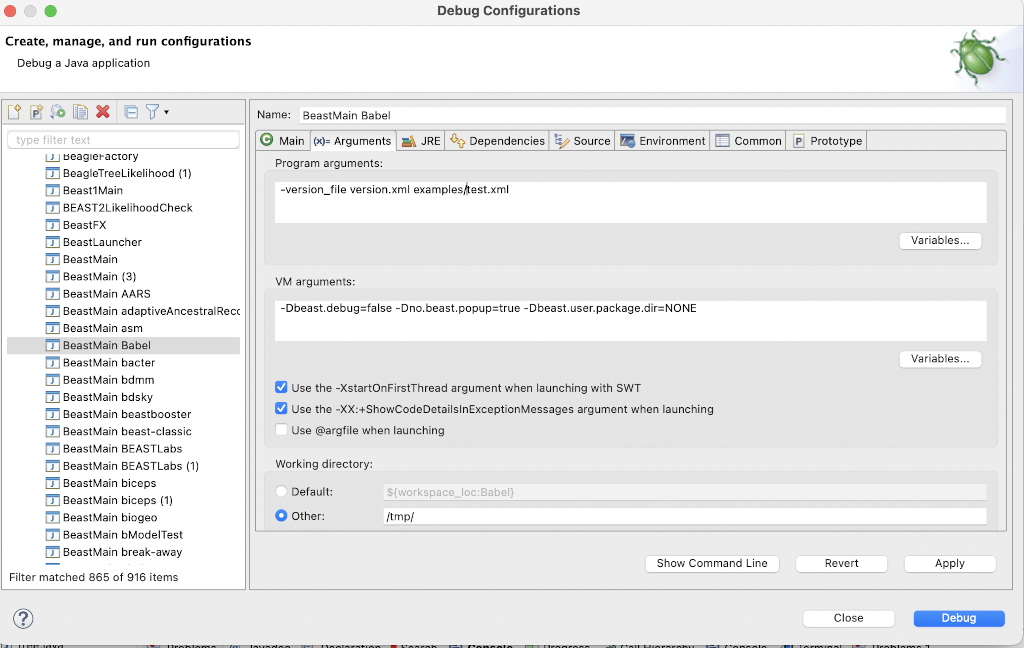
Running BEAST in Eclipse
Open class beastfx.app.beast.BeastMain.
Select menu Run/Debug as/Java Application to start BEAST.
Some java options that may be useful when starting BEAST from a package:
-Dbeast.user.package.dir=NONEthis sets the user package directory to the directoryNONEand prevents loading packages installed in the default location.-Dbeast.debug=truethis sets the debug flag, and ensures more sanity checks are done the first 6000 MCMC samples.-Dno.beast.popup=truethis suppresses annoying popup messages due to package dependency checks.
BEAST & BEAUti options that may be useful:
-version_file=/path/to/version.xmlimports services fromversion.xmlso that the XML-parser is aware of any class exported as service by your package. Multiple-version_filearguments are allowed, so packages that your package depends on can export their services as well.